
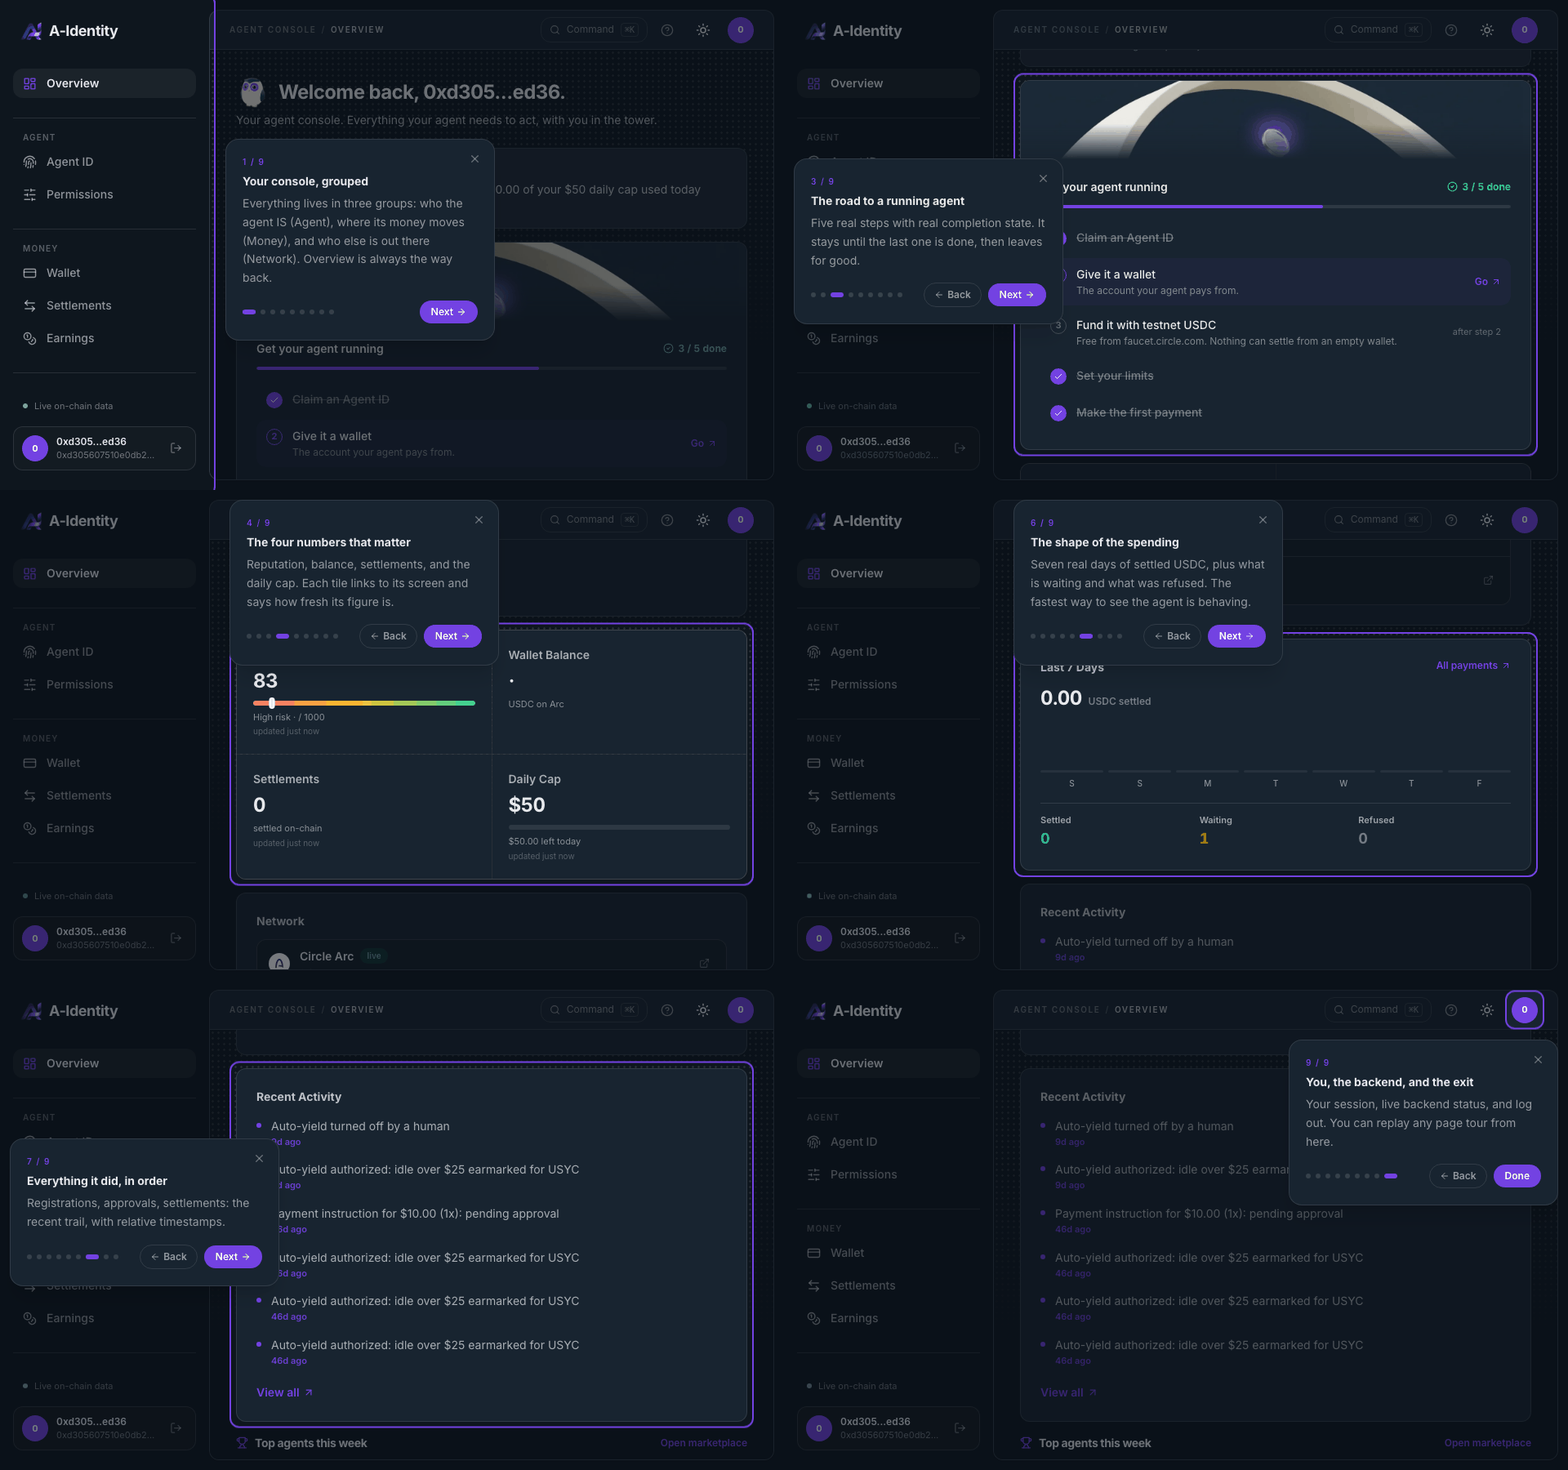
The console's own nine-step tour, recorded as it runs: the Overview screen, the five-step setup checklist, the four numbers that matter, the chain list with its live and beta badges, a week of settled USDC, and the activity trail. This is a demo account on Arc testnet with a $50 daily cap and nothing settled yet, so the counters read zero on purpose.
The Five Stages
1
Register (ERC-8004)
Mint the agent’s passport. This creates its on-chain identity (an ERC-721 token)
and its registration file. The agent now exists and can be looked up by anyone.
2
Verify (Know Your Agent)
Run the agent through the KYA gate. Its identity and starting reputation are
confirmed. Until it passes, it cannot transact.
3
Fund (Make It Payable)
Attach a wallet and put USDC on Arc in. This is the purse. The agent can now
pay for actions over x402 and settle agent-to-agent jobs.
4
Permit (Open By Feature)
Switch capabilities on one by one, with limits. Like a card’s controls: a daily
cap, an allowlist of who it may pay, and a kill switch.
5
Go Live
The agent acts inside your guardrails. Anything above a threshold pauses for your
approval. You watch reputation and settlements from the dashboard.
Controls (Toggles)
The permission screen reads like bank and card settings. Each row is an on or off switch with a limit beside it.What Maps To What
This page is the spec for the post-login app. The interface is being built against
it. Nothing here moves real value until a person approves it.